
My video on How to Create an Expense Tracker in Excel is by far my most popular video, with over 200,000 views as of the time I’m writing this.
With the new year, I’ve had several people reach out to me on how to update it for 2024.
Here I’ll go through how to quickly update the expense tracker for both if you want a new version, or you want to extend it to cover multiple years.
Creating a new version of the Excel Expense Tracker for 2024
To create a new version of the Excel Expense Tracker for the new year:
First save a new copy of the spreadsheet so you don’t overwrite your old data.
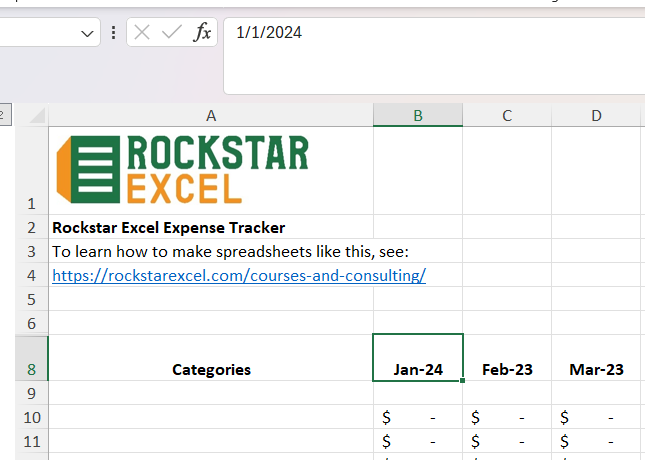
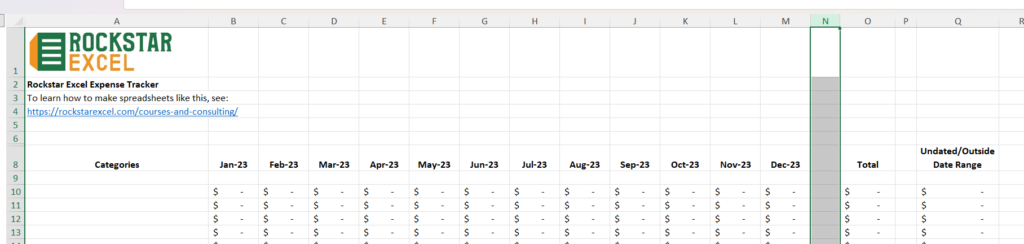
Then on the Summary tab, select the cell that says January 2023. (Or whatever your first month is.) Change this to January 1, 2024.
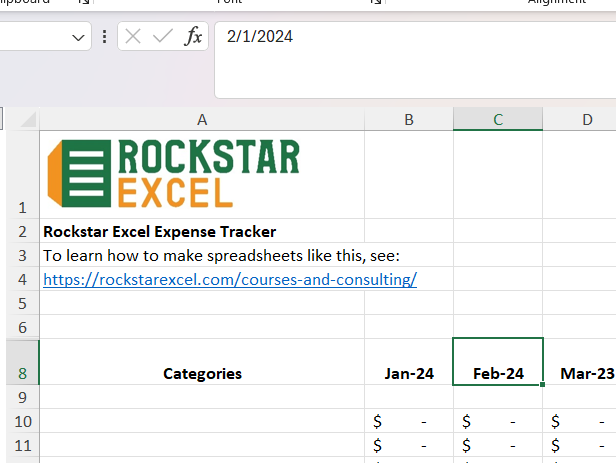
Then go to the next cell over that says February 2023 (or whatever your second month is), and change that to February 1, 2024.
Highlight these two cells. Then select the Fill Handle, which is the little green box in the lower right of your selection.
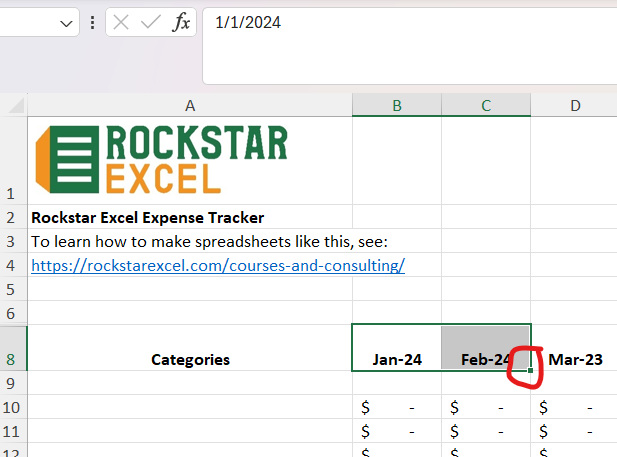
Drag the Fill Handle all the way to the right to update all your dates.
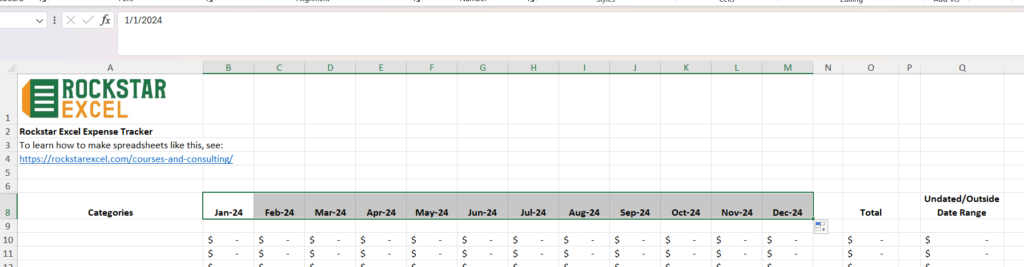
That should do it.
How to extend the Excel Expense Tracker to cover additional months
If you want the prior year and current year to be on the same spreadsheet, you need to add more columns.
Click on the column immediately to the right of December 2023. (Or whatever your last month is.)
Then highlight additional columns to the right, until you have 12 columns highlighted. (Or however many new months you want to add.)
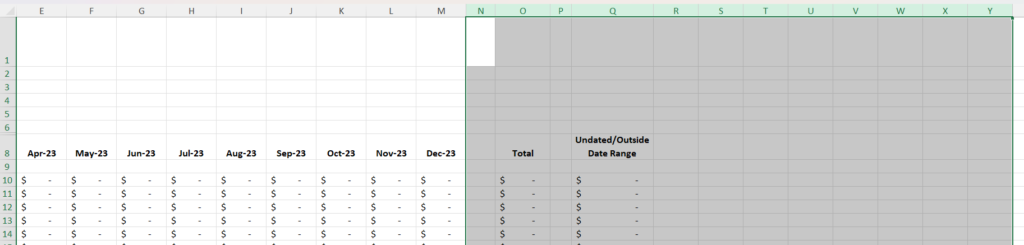
Select the Insert button on the Home Ribbon.

Now select the column for December 2023 (or your final month), and the 12 columns you just added. So you should have thirteen columns highlighted.
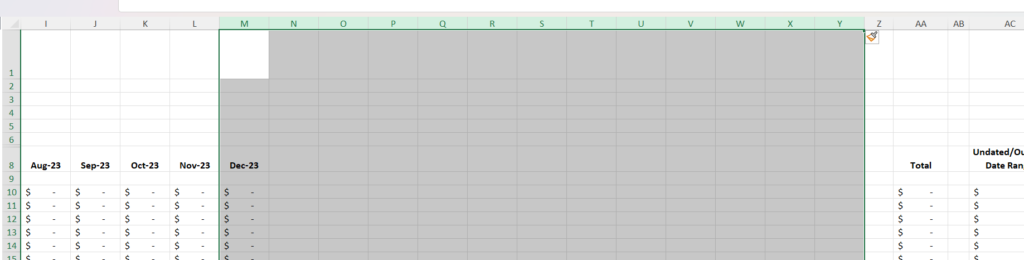
Once you’ve done this, hit Ctrl-R (Command-R on a Mac) to fill the formulas to the right.
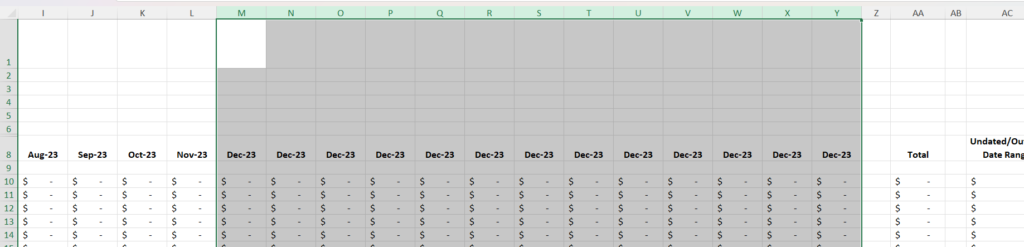
Now you’ll have 13 columns that all say December 2023. To fix this, select the cells that say October 2023 and November 2023. Then select the Fill Handle, which is the little green box in the lower right of your selection.
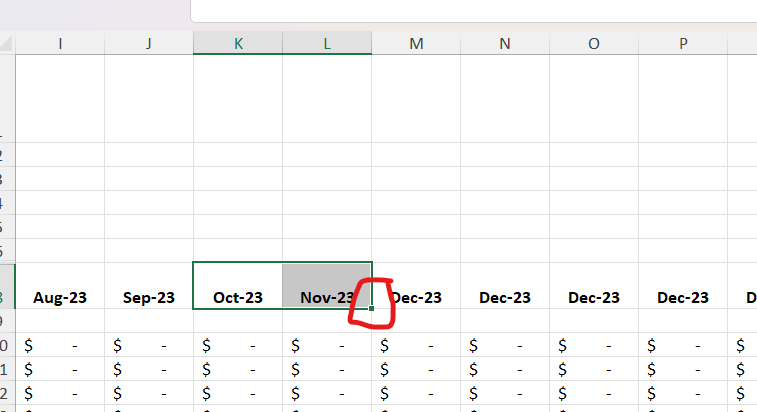
Drag the Fill Handle all the way to the right to update all your dates.
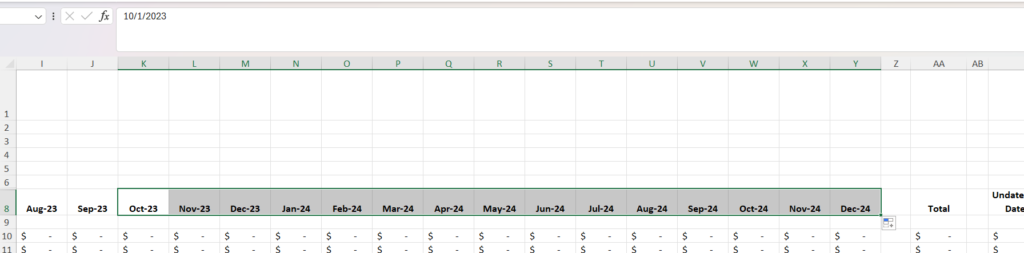
Double-check that the months are now correct, it should be working.
Updated version of Excel Expense Tracker
You can also download the latest version of the Expense Tracker, updated for 2024, here.
Want to learn more about Excel?
Subscribe to our newsletter to get monthly tips on how Excel can make your life easier, and be notified of our courses.
You can also submit questions to be answered in a future blog post or video, or book a free consultation to find out how we can save your business time and money with our done-for-you solutions.